Using Nginx on Kubernetes as a Load Balancer Service with YAML Manifests

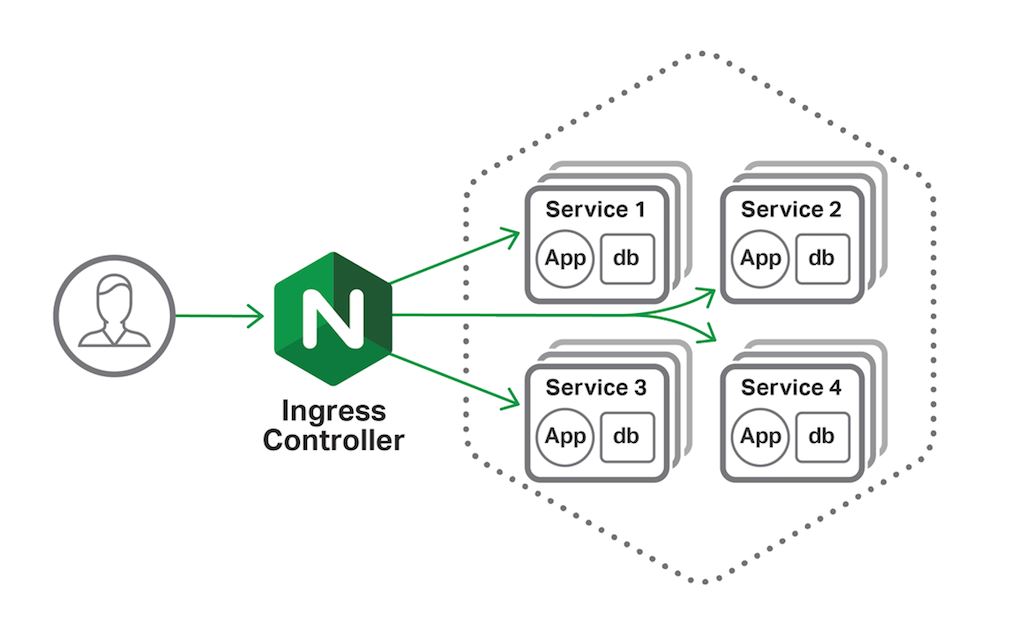
As the adoption of Kubernetes continues to grow, many of us are looking for robust solutions to manage load balancing within our clusters. Nginx, a powerful and flexible web server, is a popular choice for this purpose. In this post, we’ll explore how to use Nginx as a load balancer service on Kubernetes using YAML manifests, avoiding the complexity of Helm, and making it understandable that how nginx works. We’ll also cover how to set up SSL certificates using secrets and configure an ingress resource.
Prerequisites
Before we dive in, ensure you have the following:
- A running Kubernetes cluster.
kubectlconfigured to interact with your cluster.- An SSL certificate and its corresponding key.
- Basic understanding of Nginx and it’s uses
- DNS config and SSL certificates
Step 1: Create a Namespace
We’ll start by creating a namespace to isolate our Nginx resources.
| |
Apply this manifest with:
| |
Step 2: Create a Secret for SSL Certificate
Store your SSL certificate and key in a Kubernetes secret. Can be generated using Let’s Encrypt.
| |
Encode your certificate and key using:
| |
Replace
| |
Remember to update the TXT records for SSL challenge in your DNS provider settings.
Step 3: Deploy Nginx Deployment
Deploy Nginx as a pod within your cluster, which is a nginx controller and allows routing to diffrent services.
| |
Apply the deployment:
| |
Step 4: Expose Nginx with a Service
Create a service to expose Nginx pods. This is of type Load Balancer and on listing k8s services, you will get a public IP which becomes the entry point for all other services.
| |
Apply the service:
| |
Step 5: Configure Ingress Resource
Define an ingress resource to route traffic to your Nginx service, leveraging the SSL certificate stored in the secret.
| |
Replace your-domain.com with your actual domain name. Apply the ingress manifest:
| |
Remember to update the A Record in your DNS provider settings to redirect traffic to the Load Balancer IP.
Eureka
By following these steps, you’ve successfully set up Nginx as a load balancer on Kubernetes using YAML manifests. This approach provides a straightforward method to manage your configuration, ensuring a clear and maintainable deployment process. Feel free to tweak these manifests to fit your specific use case, and happy deploying!
Share with others on